Skip to content

Device Configuration
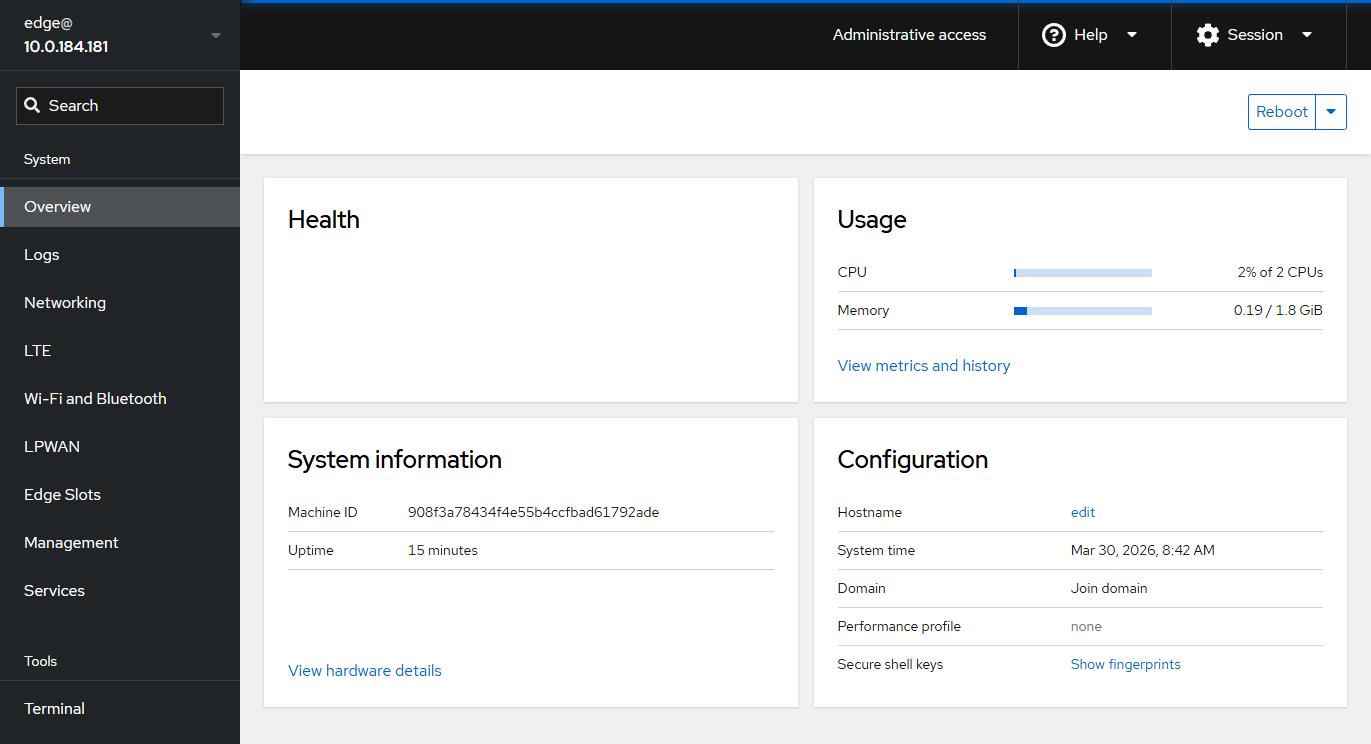
Configuration Overview

The miro Edge gateway configuration is done through a web interface. After successful login, the main configuration page of the gateway will be shown.

Login Page,750

To change LoRaWAN® specific settings and configuration navigate to the LoRaWAN section.

LoRaWAN® Settings

The LoRaWAN settings for SubG and 2.4 GHz are slightly different

miro Edge for SubG LoRaWAN®

The SubG (868 MHz or 915 MHz) LoRaWAN® configuration page allows to change all LoRaWAN® specific settings

Login Page,750

Option Description
Antenna used Select either external (if connected) or internal LoRaWAN antenna.
Forwarder type Select either optimized LORIOT packet forwarder or legacy Semtech packet forwarder of other LNS
Semtech packet forwarder server address Set server address for legacy packet forwarder (e.g. router.eu.thethings.network for TTN EU)
Semtech packet forwarder port Set server port for legacy packet forwarder
Loriot packet forwarder server address Set server address for Loriot packet forwarder (e.g. eu1.loriot.io for EU instance)

miro Edge for 2.4 GHz LoRaWAN®

The 2.4 GHz LoRaWAN configuration page allows changing all LoRaWAN® specific settings.

NOTE: Up to date, the global LoRaWAN region 2.4 GHz is not yet standardized. Please confirm your LNS is supporting LoRaWAN 2.4 GHz. Example LNS providing stable support are Loriot, TTN, or TTI.

Login Page,750

Option Description
Semtech packet forwarder server address Set server address for legacy packet forwarder (e.g. router.eu.thethings.network for TTN EU)
Semtech packet forwarder port Set server port for legacy packet forwarder

LoRa Basics Station

AWS IoT Core for LoRaWAN®

To configure BasicStation with AWS, refer to the Getting Started Guide for AWS IoT Core for LoRaWAN

TTI / TTN (The Things Stack)

To configure BasicStation with TTI / TTN, follow to steps:

  1. On the TTI web gui console, click Register gateway
  2. Enter the gateway EUI (MAC address from label with FFFE in the middle)
  3. Enter the gateway name and select the frequency plan
  4. Check "Require authenticated connection"
  5. Check "Generate API key for CUPS"
  6. Check "Generate API key for LNS"
  7. Click Register gateway
  8. In the next window, click "Download LNS key" and "Download CUPS key"
  9. Click "I have downloaded the keys".
  10. Copy/Move the downloaded keys into a folder.
  11. In the same folder, create a file called "cups.uri" and add the following line: https://SERVERURL:443 (replace SERVERURL with the "Gateway Server address" from the gateway overview page in the TTI web gui console). Save.
  12. Download the minimal certificate list and copy it into the same folder.
  13. In the same folder, open a command line (type "cmd" in the Windows explorer address bar and hit enter)
  14. Run the following commands (enter password when promted):

Important

The API key file (cups.key) needs to be in the format described here with Windows line endings (CRLF).

Important

If your gateway is connected directly to your PC (e.g. USB to ethernet dongle), make sure the network is setup as described in here. If your gateway is connected to your local network instead, replace the IP addresses in the commands below.

mv ca.pem cups.trust

scp -o "StrictHostKeyChecking=no" cups.key cups.trust cups.uri root@169.254.100.100:/etc/station/

ssh -o "StrictHostKeyChecking=no" root@169.254.100.100 "uci set miropgw.forwarder.ptype=basicstation && uci commit miropgw && /etc/init.d/lora reload"

As soon as you connect the gateway to the internet, it will show as online in the TTI web gui console.

Interfaces

In the "interfaces" menu, you can change your configuration for the local network as well as for the mobile network.

The gateway has up to three preconfigured interfaces:

  • ETHFIX: static, non-changable link local IPv4 address (169.254.100.100). Do not delete or modify!
  • LAN: User configurable IPv4 address
  • UMTS0: 3G/LTE network (might only be present in LTE gateways)

Network interfaces

Ethernet interface

To change the IP address of the ethernet network, settings of LAN network have to be changed. Do not change the configuration of ETHFIX.

You can change your configuration for the local network: automatic (DHCP) or manual (static IP) by clicking on Edit button for LAN network configuration.

DHCP

You can configure your gateway as a DHCP client to automatically obtain IP configuration from a DHCP server.

  • Set Protocol to "DHCP client"
  • Click "Switch protocol"

DHCP client configuration

  • Click "Save" button to save your configuration.
  • Back on the "Interfaces" page, click "Save & Apply" to finalize interface configuration

Static IP

You can configure your gateway with a static IP address.

  • Set Protocol to "static address"
  • Do not change "Device". This needs to be set to "br-lan"
  • Set IPv4 address (e.g. 192.168.20.101)
  • Set IPv4 netmask according to your local network setup (e.g. 255.255.255.0)
  • Set IPv4 gateway address according to your local network setup. This is the address of the device used to connect the miro Edge gateway to the internet
  • Set IPv4 broadcast, according to your local network setup (e.g., blank if not needed)

Static IP configuration

In a static IP setup you also have to set DNS configuration, which is available in the "Advanced Settings" page.

  • Make sure "Use default gateway" is checked
  • Add your DNS to "Use custom DNS server". This depends entirely on your network configuration. Recommendation is to set your default gateway and goolge DNS server. This assumes DNS support by your default gateway.

DNS configuration

  • Click "Save" button to save your configuration.
  • Back on the "Interfaces" page, click "Save & Apply" to finalize interface configuration

Mobile Network Configuration

For mobile internet connectivity, you might have to set your APN configuration. Clicking on Edit button for UMTS0 network configuration.

  • Set APN according to your mobile network operator (e.g. shared.m2m.ch)
  • Set other configuration options (e.g. PIN) if needed.

APN configuration

  • Click "Save" button to save your configuration.
  • Back on the "Interfaces" page, click "Save & Apply" to finalize interface configuration

Testing network configuration and Diagnostics

In Network select Diagnostics to access "Network Utilities". Use those tools to check and validate your network configuration.

Network Utilities

Important

Diagnostics tools might not work while your gateway is directly connected to your PC using link local (169.254.100.100) address.